How-To Use Photomerge in Photoshop CS5 – CS6
What is Photomerge?
Photomerge is a Photoshop command that combines several photographs / scans into one continuous image — great for scanning large artwork!
How do you get to the Photomerge command?
File –> Automate –> Photomerge
What do you need to be able to Photomerge artwork?
- You should have Photoshop CS5 or Photoshop CS6.
Note: Photomerge was introduced in Photoshop CS3, however; only until CS5 did Photomerge finally stop being buggy. You can use the older versions of Photoshop (CS3 – CS4) to Photomerge, but be forewarned that it does not work as smoothly as it could. - A (good quality) standard-sized scanner. On a personal note, I use an Epson Perfection 4990 PHOTO size A4 scanner, but use whatever scanner works best for you.
- Multiple good scans of your artwork. See the instructions below on scanning artwork using a standard sized scanner.
- Have the Layers palette open in Photoshop.
Why use Photomerge?
- Because (good quality) large format scanners can be pricey.
- It can be a pain to have a shop scan your artwork for you. You are not bound to the shop’s hours of operation, and you have full control of the quality of your art.
- Most publishing houses will happily accept digital scans of artwork from artists for publication in books. No need to send your original illustrations through the mail, thank goodness!
- And… you probably already have Photoshop, so why not use it.
Scanning Tips:
- Overlap your scans by about 2 – 3 inches.
- Rotate and move your artwork between scans to ensure that you have scanned each section of the piece.
- Once the art has been scanned open the scans in Photoshop, and rotate the scans so that they are all oriented consistently.
- This may not apply to you: my scanner has a shadow on the farthest right edge of the scanner bed. So when I am scanning the right edge of my artwork I always place the art one inch from the right edge of the scanner bed to avoid having a shadow on my scans.
- Use masking tape to keep your artwork in place while you are scanning.
- Use a heavy object (like a book) to press the scanner lid down on top of your artwork.
Photomerge:
- Have your Layers palette open.
- Open the Photomerge command: File –> Automate –> Photomerge
- In the Photomerge window there should be an option to choose different types of Layout. For CS5 – CS6 you can use Auto.
- Click on the Browse button and select the scans you would like to have merged together.
- Then press OK.
- Magically, the multiple scans now look like one image, but they are actually multiple layers. Check the image on your screen and if it all looks good merge the layers.
If the image seems a little off you can either:
Move the layers around till the image lines up more correctly.
-or-
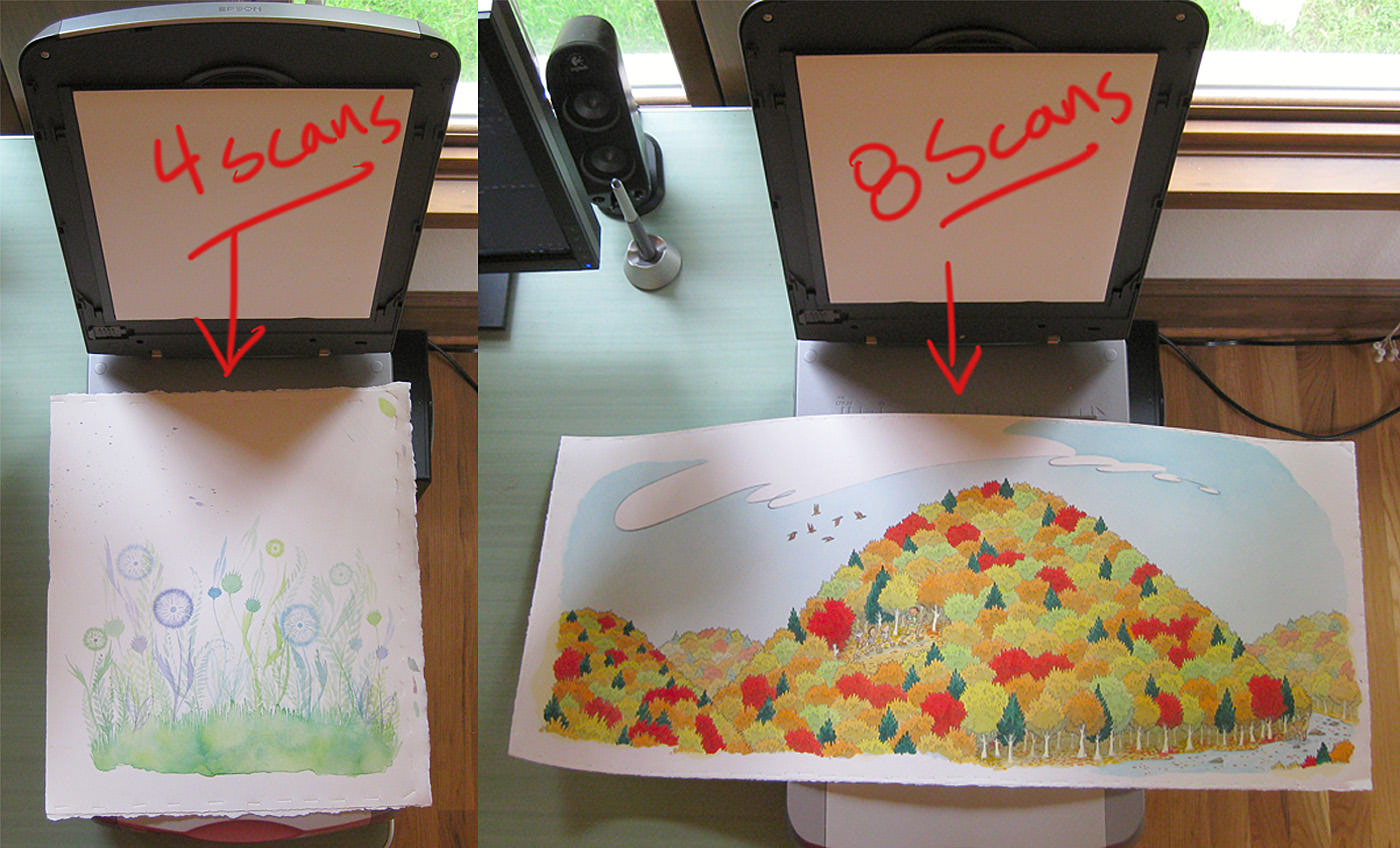
Re-scan your artwork using more scans.
Finished Example (original size 13½” x 15½”):