How-To Use Photomerge in Photoshop CS5 – CS6

What is Photomerge?

Photomerge is a Photoshop command that combines several photographs / scans into one continuous image — great for scanning large artwork!
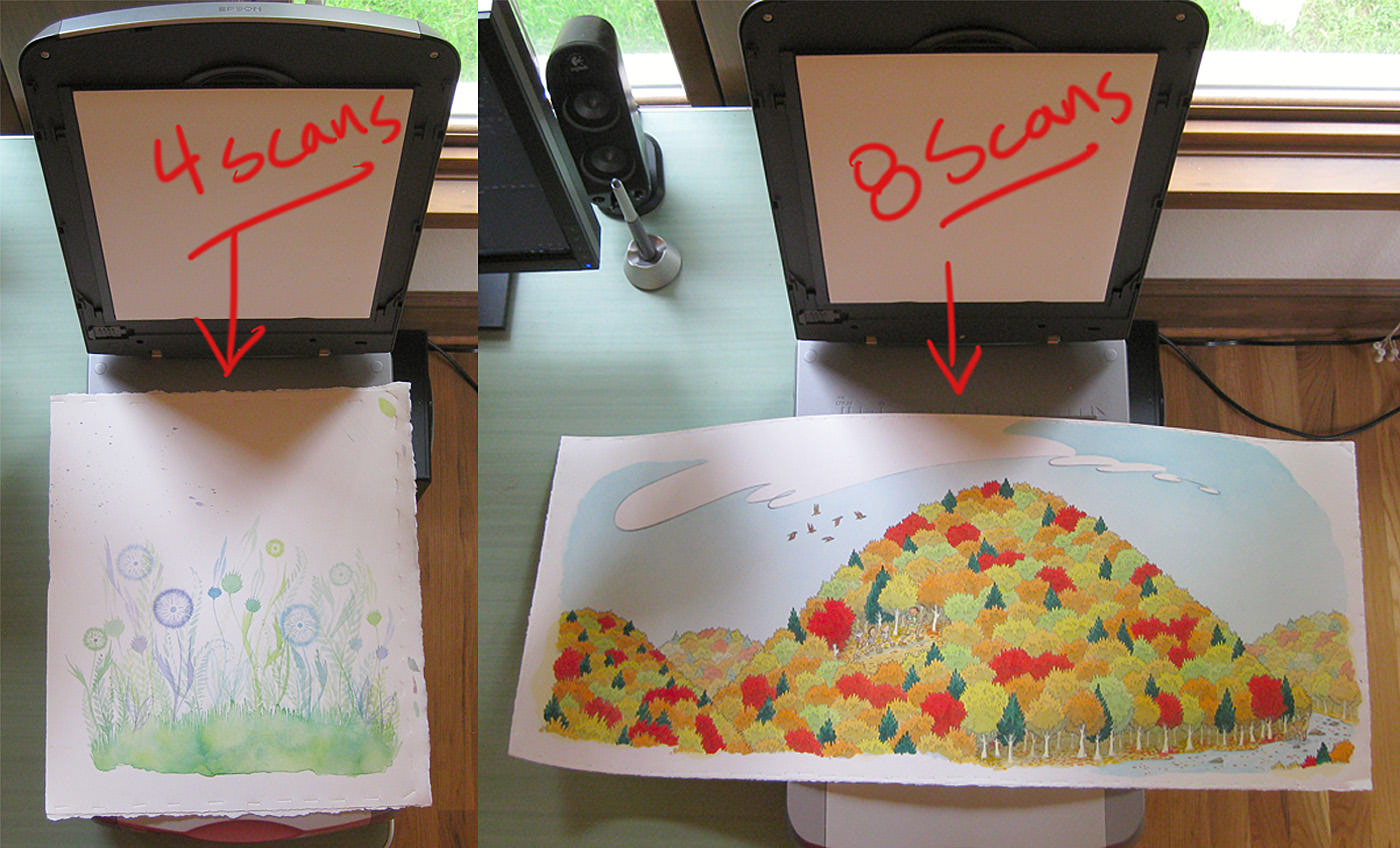
Two large illustrations placed on desktop scanners.

How do you get to the Photomerge command?

File –> Automate –> Photomerge

What do you need to be able to Photomerge artwork?

  • You should have Photoshop CS5 or Photoshop CS6.
    Note: Photomerge was introduced in Photoshop CS3, however; only until CS5 did Photomerge finally stop being buggy. You can use the older versions of Photoshop (CS3 – CS4) to Photomerge, but be forewarned that it does not work as smoothly as it could.
  • A (good quality) standard-sized scanner. On a personal note, I use an Epson Perfection 4990 PHOTO size A4 scanner, but use whatever scanner works best for you.
  • Multiple good scans of your artwork. See the instructions below on scanning artwork using a standard sized scanner.
  • Have the Layers palette open in Photoshop.

Why use Photomerge?

  • Because (good quality) large format scanners can be pricey.
  • It can be a pain to have a shop scan your artwork for you. You are not bound to the shop’s hours of operation, and you have full control of the quality of your art.
  • Most publishing houses will happily accept digital scans of artwork from artists for publication in books. No need to send your original illustrations through the mail, thank goodness!
  • And… you probably already have Photoshop, so why not use it.

 Scanning Tips:

  • Overlap your scans by about 2 – 3 inches.
  • Rotate and move your artwork between scans to ensure that you have scanned each section of the piece.
  • Once the art has been scanned open the scans in Photoshop, and rotate the scans so that they are all oriented consistently.
  • This may not apply to you: my scanner has a shadow on the farthest right edge of the scanner bed. So when I am scanning the right edge of my artwork I always place the art one inch from the right edge of the scanner bed to avoid having a shadow on my scans.
  • Use masking tape to keep your artwork in place while you are scanning.
  • Use a heavy object (like a book) to press the scanner lid down on top of your artwork.

Photomerge:

  • Have your Layers palette open.
  • Open the Photomerge command: File –> Automate –> Photomerge
  • In the Photomerge window there should be an option to choose different types of Layout. For CS5 – CS6 you can use Auto.
  • Click on the Browse button and select the scans you would like to have merged together.
  • Then press OK.
  • Magically, the multiple scans now look like one image, but they are actually multiple layers. Check the image on your screen and if it all looks good merge the layers.

If the image seems a little off you can either:

Move the layers around till the image lines up more correctly.
-or-
Re-scan your artwork using more scans.

Finished Example (original size 13½” x 15½”):
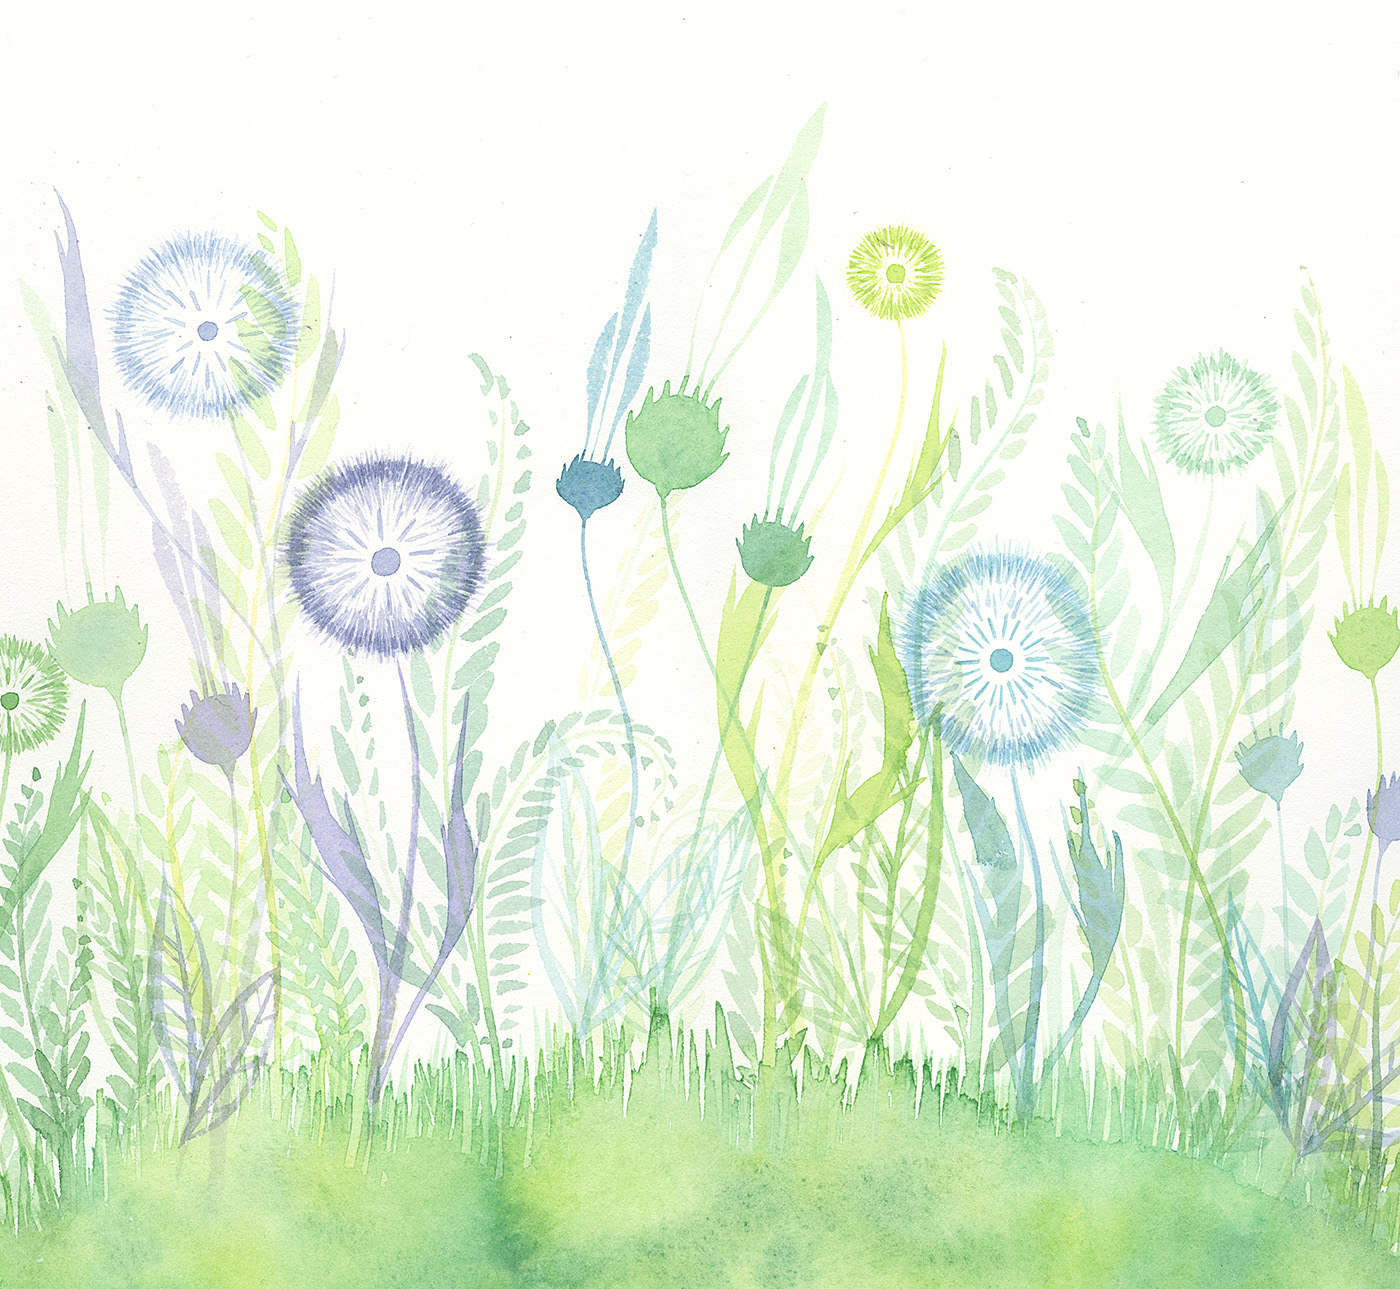
Painting of dandelions

How-To Stretch Paper

Hello all, my name is Marsha Riti, and I am a children’s book illustrator as well as a member of the Girllustrators. I primarily use watercolor for my illustrations, and I find stretching my paper to be very helpful for these reasons:

  • There is no buckling on my finished paintings (they lay flat). This is helpful if you plan to sell professional looking originals
  • Scanning is easier because the finished paintings lay flat.
  • I save money because I can use lighter weight paper i.e. less-expensive paper. Note: you can stretch heavier weight watercolor paper if you want to.

Here’s a small list of items you will need to stretch paper:

  • Watercolor paper (cut to the size you need for your project plus 1/2″ extra on each side)
  • One stapler
  • Stainless steel staples (so they wouldn’t rust)
  • One roll of paper towels
  • 1/2″ thick foamboard (large enough to accommodate your paper)

Note: If you want to trace an image on to the watercolor paper before it is stretched, you can. I even print onto the paper before it’s stretched using a printer that has pigmented inks that don’t run.

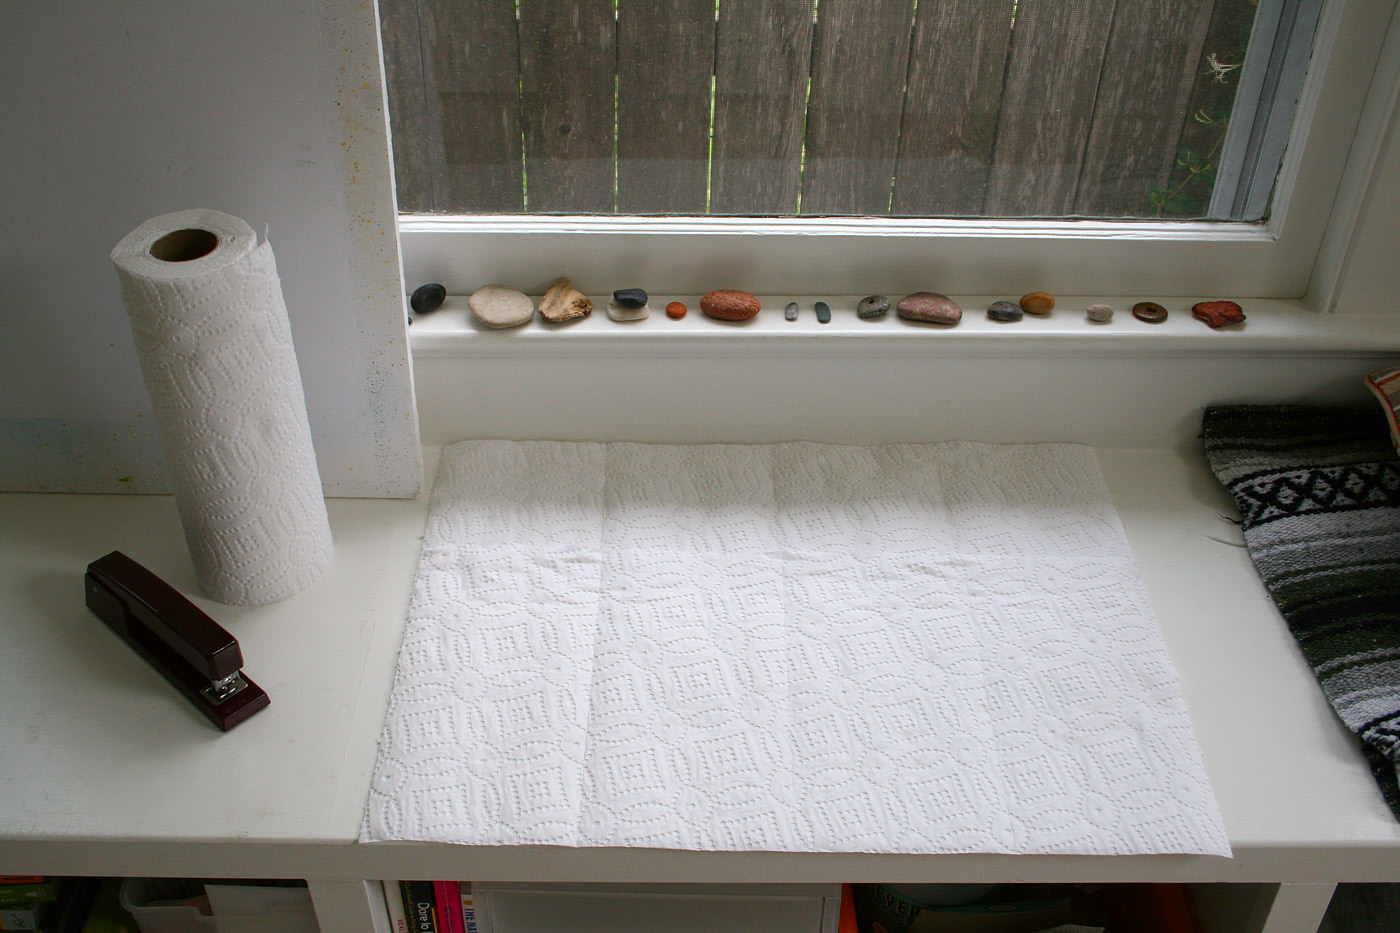
#1. Before you soak your paper have out: your 1/2″ thick foamboard, stapler (full of staples), paper towel roll, and a double layer of paper towel laid out on your work surface.

A two-foot-long length of paper towel rolled out onto a table

#2. Have your bathtub fulled with 6″ of cool water (not warm or hot). Slide your watercolor paper into the bath till fully submerged. Let paper sit in bath till the paper is thoroughly wet but not floppy. Pull the paper out of the bath and let the excess water drip off.

Is it wet enough? “The usual rule is “Test the corners.” If you bend a corner and it doesn’t readily spring back, it’s probably about right. If you meet resistance or it has too much “snap” it is not wet enough. If it’s flopping around like a cooked lasagna noodle, it’s way too wet to work with and you’ll have to blot the heck out of it before stretching. Paper soaked too long can lose much of it’s sizing and will affect the way it takes your paint.

I use Arches HP 90lb. watercolor paper and it takes less then ten seconds to get the paper soaked.

#3. Lay the soaked watercolor paper on top of your paper towels, then put one more layer of towels on top of the paper. Blot the paper (never rub) till it’s lost its watery shine.

A tripych showing the wet watercolor paper being blotted with paper towel

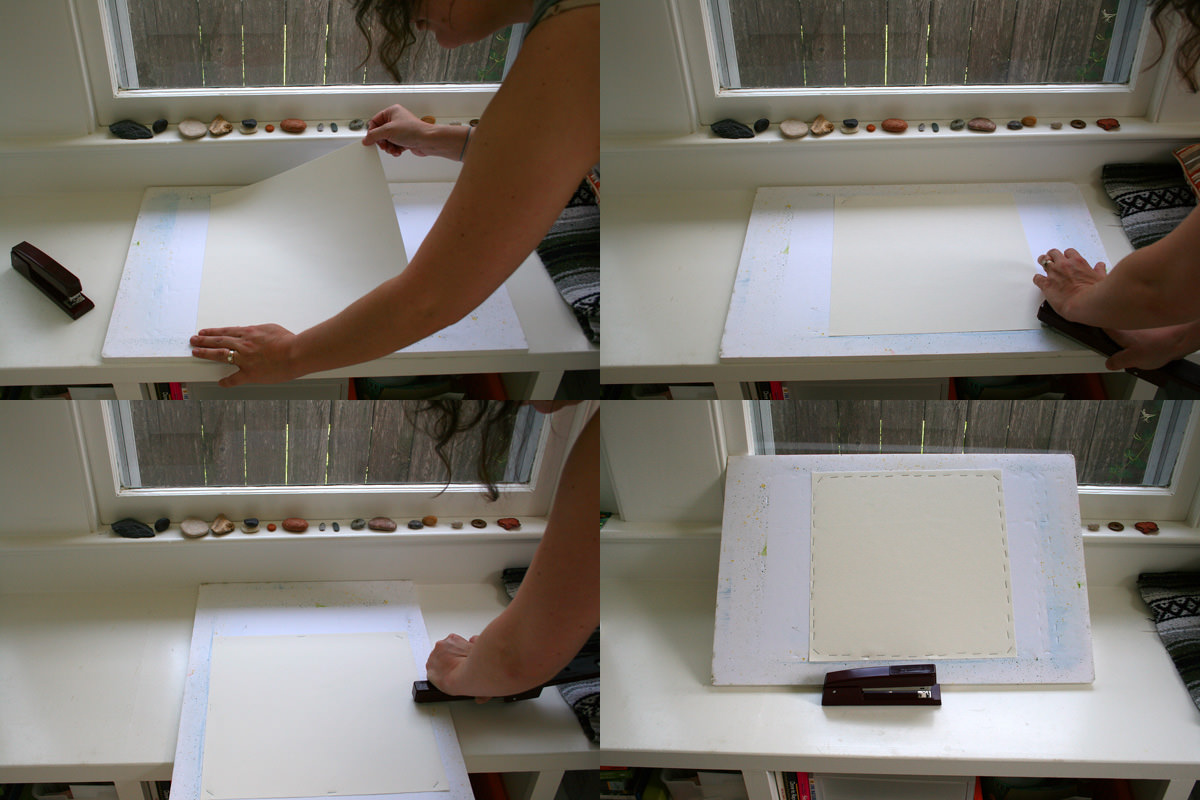
#4. Place the blotted paper onto your foamboard taking care to ensure it lays flat. Now you will begin stapling the paper directly to the foamboard. Swing the stapler open and start stapling the paper at diagonal corners till all four corners are stapled. Then staple in the middle of each side switching to opposing sides for each new staple. Essentially, you just want to make sure you are stapling equally on all sides. Fill in the spaces between the staples with more staples. I tend to use a lot of staples, each one is roughly 1/2″ apart.

Four views, showing each edge of the watercolor paper being stapled into gatorboard

Now your paper is stretched! Yay! If you would like to paint right away you can do a wet-on-wet technique. If you need the paper to be dry, just lay it flat on a surface that is out of direct sunlight and heat. Once dry, the paper will be drum tight! For my 90lb. paper, drying takes between 15-30min. depending on how much humidity is in the air.

When you are done painting wait till the paper is totally dry, then remove the paper from the foamboard. I shimmy a thin butter knife under the paper that is directly under the staples to pry them up. After you pry up all the staples you can pull the paper off the board, then pick the staples out of your paper with your fingers. Your paper will have holes on the edges, which you can cut off to get rid of the holes.

Don’t let the looks of a used foamboard surface scare you. Your board will still be good even after multiple uses. Just run your hand over the surface and knock off any high points.

Yes, stretching paper does use up paper towel. I reuse my paper towel for dabbing my brushes on.

Side Note: I think proper paper handling is important. When you bring your watercolor paper home, store it flat. When handing the paper, use clean hands. When you pick up the paper, hold it from two diagonal corners. This prevents body oils from transferring onto the working-area of the paper, and keeps your paper damage free.

Special thanks to fellow artist and Girllustrator, Amy Farrier, for the use of her house and camera. Thanks, Amy!

Here are some helpful links:

Watercolor Paper: What You Need to Know

Stretching Paper: Bucking the Buckle